
A tripod in snow behaves differently from a tripod on a pavement. On a winter night in Lapland the ground is soft, the air is cold and the exposure you need for the Northern Lights lasts many seconds — long enough for the smallest movement to blur the picture. That is why guests on our aurora evenings often ask us how to set up a tripod properly on snow.
Below we explain why the tripod matters in the first place, how to make it stand still on soft snow, the starting settings recommended by the Canadian Space Agency, and how photography works on our own Northern Lights tours — including the ones where our guides take the photos for you.
In short: aurora photos need exposures of several seconds, so the camera must not move. On snow, stamp the snow firm before you set the legs, spread the legs wide and keep them short, leave the centre column down, and use a remote release or the self-timer so your hand never touches the camera during the exposure.
At a glance
- From: 199 €
- Experience type: Northern Lights tour
- Duration: Total duration of tour is usually 4-10 hours depends on conditions of the day
- Difficulty: Easy
- Book in Advance: Cut off: 1 hours before start time
- Included: Small group 2-8 persons; Professional Northern Lights guide & photographer in English (other languages available on request: (Spanish, Portuguese, French, Italian, German & Finnish. PLEASE NOTE LIMITED AVAILABILITY FOR OTHER LANGUAGES) If another language is required. Please send us an email or WhatsApp after booking.); Winter clothing (Adult & Child size), overalls, boots, gloves, socks; Information about the Northern Lights; Pick-ups and drop-offs are included in the price in 10 km radius from Rovaniemi city center; Professional DSLR photos (delivered securely online); Air conditioned car; Northern Lights guarantee, if we don’t capture Northern Lights you get 100% your money back!; Hot drinks & light snacks; Unlimited mileage & time (typically 4–10 hours)
- Cancellation: Free cancellation 24 hours before the activity. We will charge a cancellation fee of 100% if booking is cancelled less than 24 hours before the activity.
- Accessibility: Not wheelchair accessible; Not stroller accessible
StayLapland · From 199 €
Professional Small Group Northern Lights Hunting Tour from Rovaniemi – Guaranteed
Total duration of tour is usually 4-10 hours depends on conditions of the day · Easy · Cut off: 1 hours before start time
#bokun_6ef35fdb_3836_87f4_1e10_5c0c365aa7e1 { display: inline-block; padding: 10px 20px; background: #408C3D; border-radius: 5px; box-shadow: none; font-weight: 600; font-size: 16px; text-decoration: none; text-align: center; color: #FFFFFF; border:none; cursor: pointer; transition: background .2s ease; } #bokun_6ef35fdb_3836_87f4_1e10_5c0c365aa7e1:hover{ background: #285726; } #bokun_6ef35fdb_3836_87f4_1e10_5c0c365aa7e1:active{ background: #30682e; }Book Early the Activities for Winter 2026–2027 – Save 10% with code EARLY27 01.11.2026–31.03.2027 (Excludes husky & reindeer tours)
Why a tripod matters for aurora photos
The Northern Lights are faint compared with daylight, so the camera has to collect light for a long time. The Canadian Space Agency’s guide to photographing the aurora lists a sturdy tripod as essential to prevent shaking, together with a cable release or remote, and suggests exposure times between 10 and 25 seconds. Hand-holding a camera for that long is not realistic: every breath and heartbeat would show up as blur in the stars and the foreground.
There is a second reason the tripod helps. As our tour pages point out, the Northern Lights appear stronger on camera than to the naked eye. A stable, long exposure is what lets the camera show colour and structure that your eyes may only see as a pale glow.
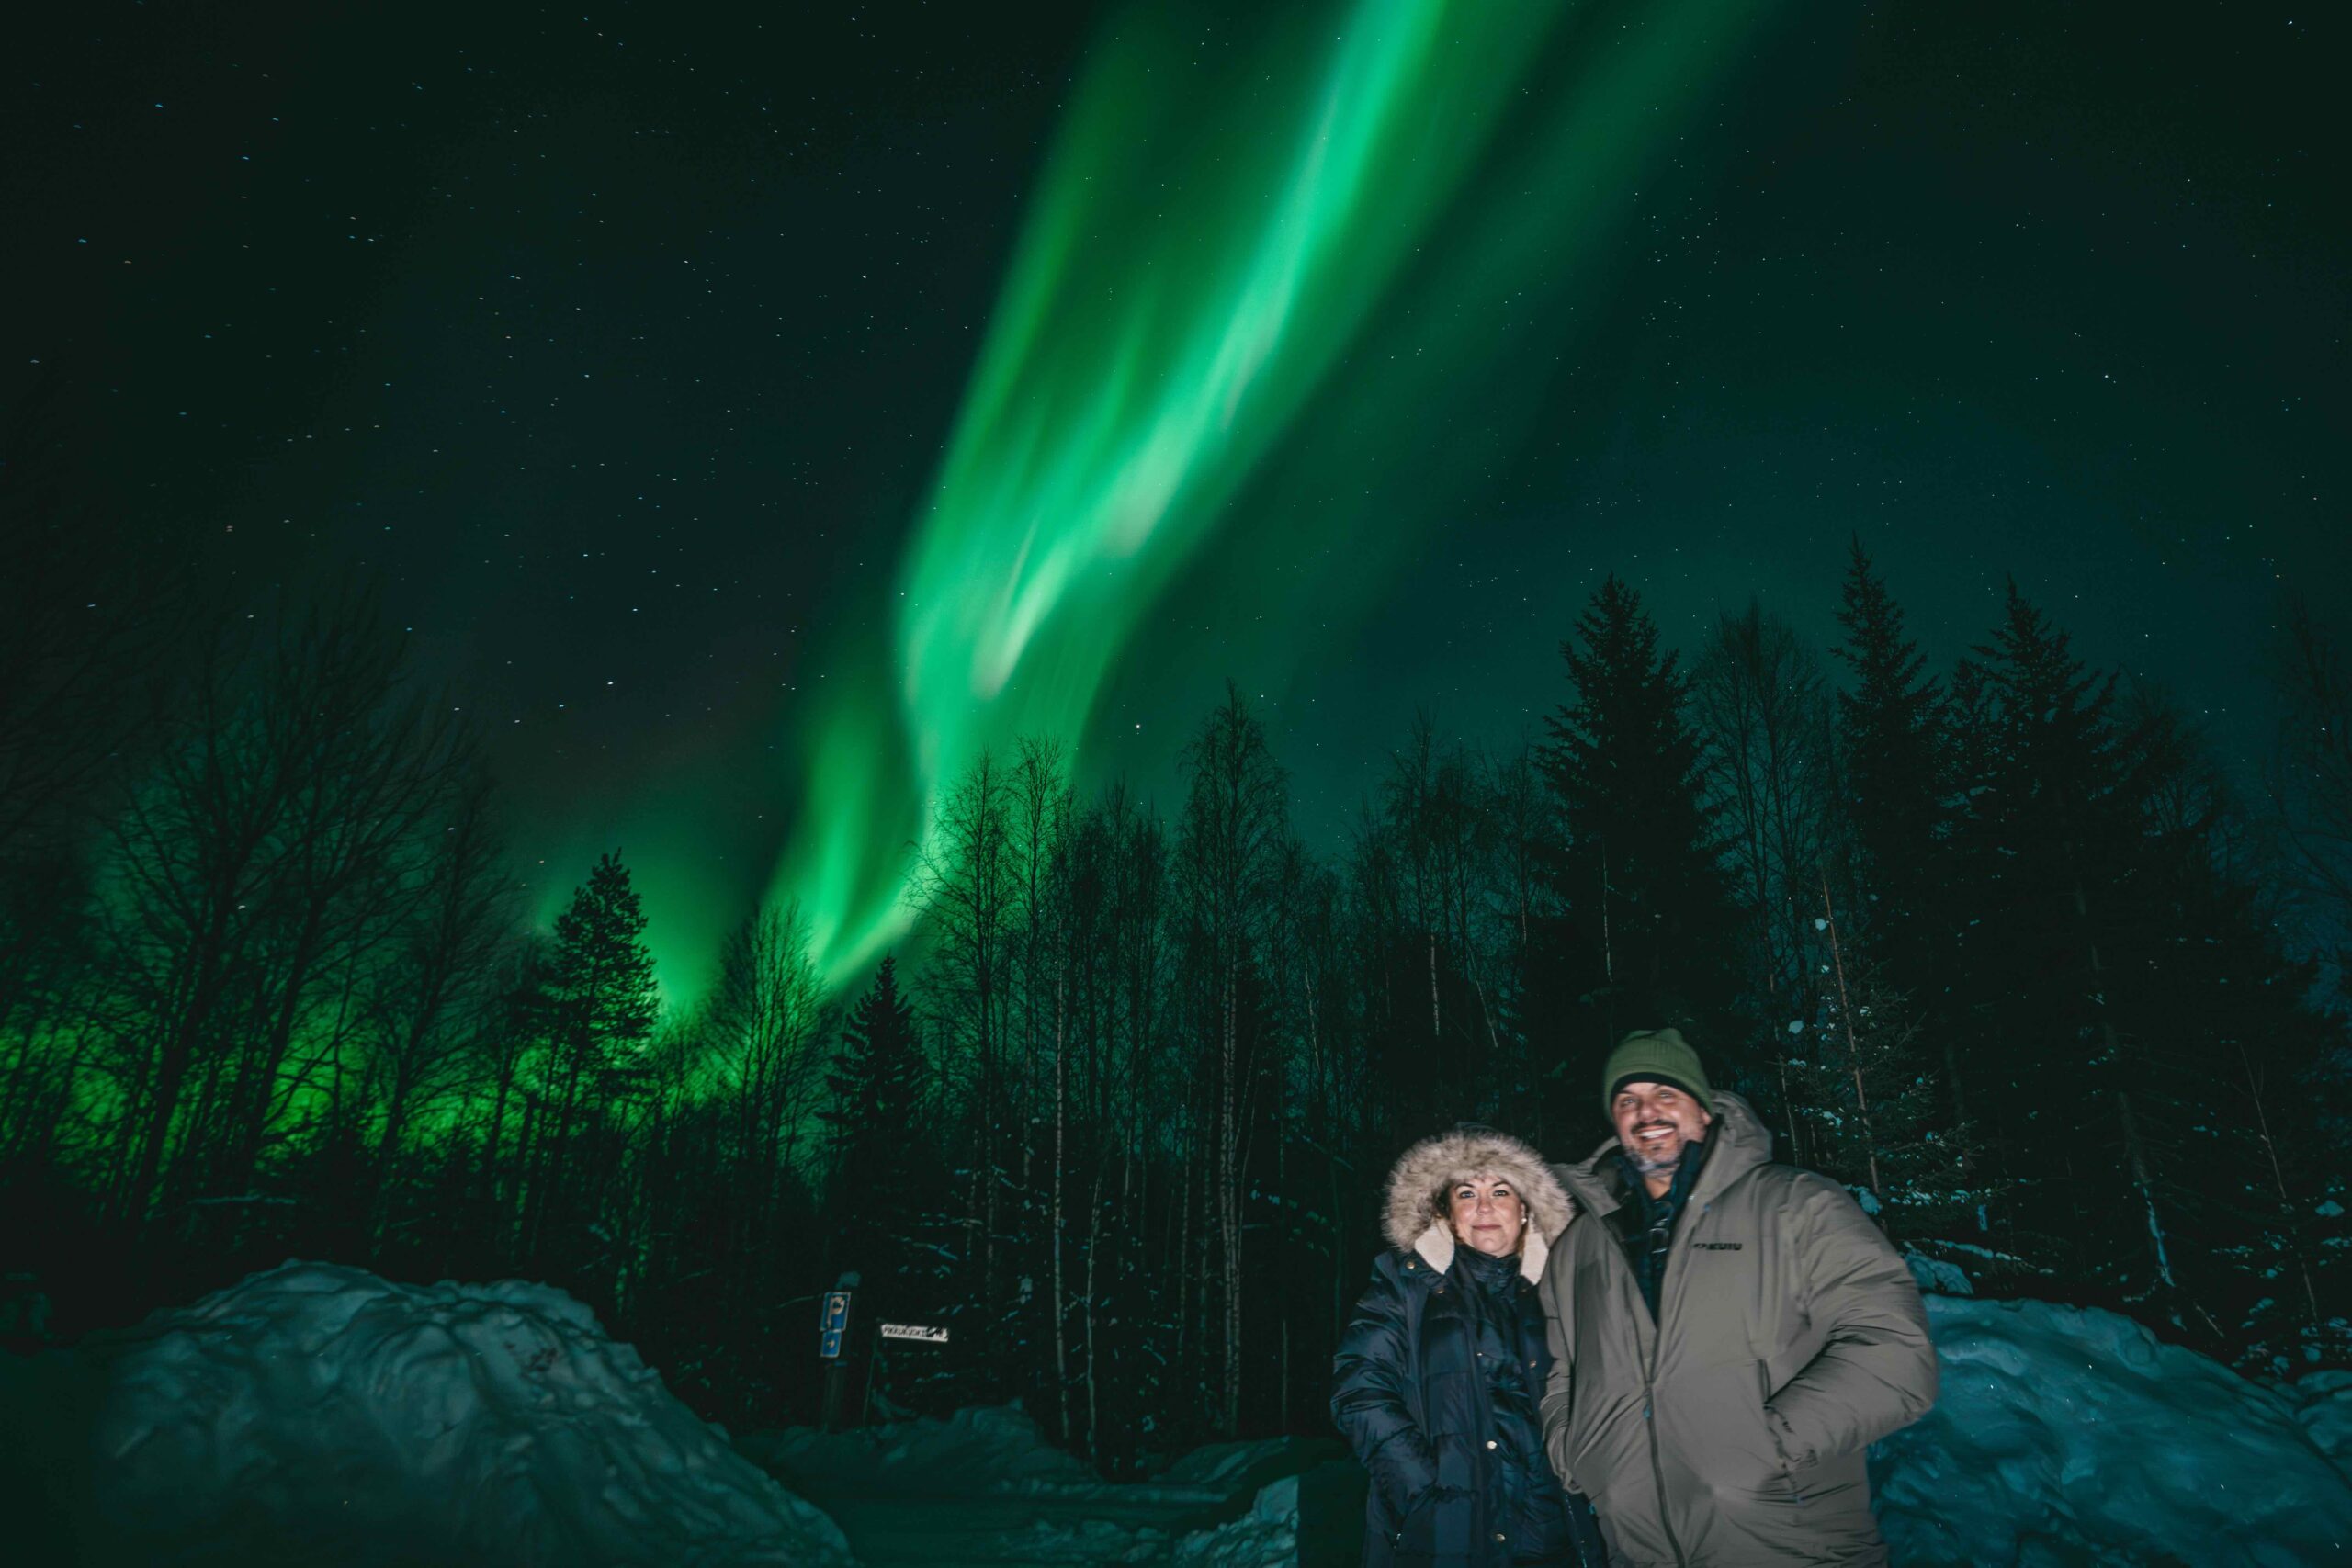
Setting up on soft snow
Snow is not a solid surface. A tripod leg that looks stable at the start of an exposure can slowly sink or tilt a few seconds later, which is enough to spoil a sharp image. A few habits make a big difference:
- Firm the snow first. Stamp down a small platform with your boots before you place the legs, then press each leg in so it settles before you frame the shot.
- Spread the legs wide and keep them short. A lower, wider tripod is more stable, especially in wind. Extend the thickest leg sections first.
- Leave the centre column down. Raising it turns a stable tripod into a wobbly one.
- Check the level again after a minute. If the horizon has tilted, a leg has sunk — re-firm it and reframe.
- Stand still and off the platform. Walking around the tripod on soft snow can move the legs.
Hands off: remote release, self-timer and gloves
Pressing the shutter button with a gloved finger nudges the camera at exactly the wrong moment. Use a cable release or remote, as the Canadian Space Agency recommends, or set the camera’s self-timer so the exposure starts a couple of seconds after you let go.
Thick gloves make small buttons hard to use. Many photographers set the camera up before the evening — manual mode, focus, exposure — so that on location they only need to frame and fire. Keep a thin pair of liner gloves under your warm ones if you need to adjust small controls, and put the warm gloves back on straight away.
StayLapland · From 109 €
Professional Guaranteed Northern Lights Hunting Tour from Rovaniemi by Bus
Total duration of tour is usually 4-5 hours depends on conditions of the day · Easy · Cut off: 1 hours before start time
#bokun_66c364fc_189a_9698_b71b_f32ccab2892b { display: inline-block; padding: 10px 20px; background: #408C3D; border-radius: 5px; box-shadow: none; font-weight: 600; font-size: 16px; text-decoration: none; text-align: center; color: #FFFFFF; border:none; cursor: pointer; transition: background .2s ease; } #bokun_66c364fc_189a_9698_b71b_f32ccab2892b:hover{ background: #285726; } #bokun_66c364fc_189a_9698_b71b_f32ccab2892b:active{ background: #30682e; }Book Early the Activities for Winter 2026–2027 – Save 10% with code EARLY27 01.11.2026–31.03.2027 (Excludes husky & reindeer tours)
Starting settings for the Northern Lights
The Canadian Space Agency gives a simple starting point that works well with a tripod:
- Exposure time between 10 and 25 seconds — longer exposures give a brighter image but can make fast-moving aurora look fuzzy.
- The widest aperture your lens allows (for example f/2.8, f/3.5 or f/5.6).
- ISO 400 or 800 to record enough detail; higher ISO gives grainier images.
- Focus on the stars, with the lens set at or near infinity.
Treat these as a starting point rather than a rule. When the aurora is bright and moving quickly, shorter exposures keep its shape crisp; when it is faint, longer exposures collect more light — which is exactly when a stable tripod matters most.
Cold, frost and your camera
Cold nights bring a few practical challenges that have nothing to do with settings:
- Batteries drain faster in the cold. Carry spares in an inside pocket, close to your body, and swap them when the one in the camera gives up.
- Breath on the lens. Breathing close to the camera can leave frost on the lens or viewfinder. Turn your head away when you check the screen.
- Condensation indoors. Bringing a very cold camera straight into a warm room or car can cause condensation. Put the camera in a closed bag before you go inside and let it warm up slowly.
- Metal parts get very cold. Tripod legs with foam grips are kinder to your hands, and gloves stay on whenever you can manage it.
Clear skies come first
The best tripod technique cannot photograph an aurora behind clouds. The Finnish Meteorological Institute notes that the surest information comes from looking at the sky when it is dark and cloudless — the aurora is only visible on dark, clear nights. The institute also explains that the bigger the expected aurora display, the shorter the warning time tends to be, which is one reason it pays to be ready to set up quickly.
If you want to read more about the science behind active skies, see our articles on the equinox aurora and solar maximum and the Northern Lights.
How this shows up on our tours
On our Professional Small Group Northern Lights Hunting Tour from Rovaniemi – Guaranteed (from 199 €), photography is part of the job. The group is small, 2–8 persons, and your guide is a professional Northern Lights guide and photographer. Each evening our guides study cloud forecasts, weather conditions and aurora activity before choosing the direction for the night. Professional DSLR photos are included and delivered securely online, within 2–3 business days, so you can simply enjoy the sky if you prefer not to manage your own tripod.
If you do bring your own camera and tripod, there is plenty of time to use them: as the tour page says, aurora hunting involves a lot of driving and waiting, so patience is required. The tour includes winter clothing (overalls, boots, gloves and socks), hot drinks and light snacks, and a Northern Lights guarantee — if we do not capture the Northern Lights, you get 100% of your money back.
Other ways to join a photo-focused evening with us are the Professional Guaranteed Northern Lights Hunting Tour from Rovaniemi by Bus (from 109 €) and the fully private Northern Lights hunting tour for your own group. You can browse all of them in our photography tours collection and read more in Photography Tours Rovaniemi.
Frequently asked questions
Do I need a tripod to photograph the Northern Lights?
For a camera with long exposures, yes: the Canadian Space Agency calls a sturdy tripod essential to prevent shaking during exposures of 10–25 seconds.
How do I stop my tripod sinking into the snow?
Stamp the snow firm before placing the legs, press each leg in, keep the legs short and wide, and re-check the level after a minute.
Should I raise the tripod’s centre column?
It is better not to. Leaving the centre column down keeps the tripod much more stable, especially in wind.
Do I have to bring my own tripod on your aurora hunting tour?
No. On our Professional Small Group Northern Lights Hunting Tour your guide is also a photographer, and professional DSLR photos are included and delivered online within 2–3 business days. You are welcome to bring your own camera too.
Why does the aurora look stronger in photos?
As our tour pages note, the Northern Lights appear stronger on camera than to the naked eye, because a long exposure collects much more light than your eyes can.
What happens if the sky is cloudy on the tour?
Our guides study cloud forecasts, weather conditions and aurora activity to choose the direction for the night. The guaranteed tours include a 100% refund if we do not capture the Northern Lights.
Ready to book?
StayLapland · From 199 €
Professional Small Group Northern Lights Hunting Tour from Rovaniemi – Guaranteed
Total duration of tour is usually 4-10 hours depends on conditions of the day · Easy · Cut off: 1 hours before start time
#bokun_657d266e_30ab_ddee_ef01_d2c9f9a4eb50 { display: inline-block; padding: 10px 20px; background: #408C3D; border-radius: 5px; box-shadow: none; font-weight: 600; font-size: 16px; text-decoration: none; text-align: center; color: #FFFFFF; border:none; cursor: pointer; transition: background .2s ease; } #bokun_657d266e_30ab_ddee_ef01_d2c9f9a4eb50:hover{ background: #285726; } #bokun_657d266e_30ab_ddee_ef01_d2c9f9a4eb50:active{ background: #30682e; } #bokun_4f483c5d_8007_61d7_17ea_e801e1ad1a2c { display: inline-block; padding: 10px 20px; background: #408C3D; border-radius: 5px; box-shadow: none; font-weight: 600; font-size: 16px; text-decoration: none; text-align: center; color: #FFFFFF; border:none; cursor: pointer; transition: background .2s ease; } #bokun_4f483c5d_8007_61d7_17ea_e801e1ad1a2c:hover{ background: #285726; } #bokun_4f483c5d_8007_61d7_17ea_e801e1ad1a2c:active{ background: #30682e; }Book Early the Activities for Winter 2026–2027 – Save 10% with code EARLY27 01.11.2026–31.03.2027 (Excludes husky & reindeer tours)
Questions about photography on our tours? Email booking@staylapland.com or message us on WhatsApp +358 40 128 7846.
You may also like
- Professional Guaranteed Northern Lights Hunting Tour from Rovaniemi by Bus — from 109 €, Total duration of tour is usually 4-5 hours depends on conditions of the day
- Professional Northern Lights Hunting Tour from Rovaniemi – Guaranteed (PRIVATE) — from 1990 €, Total duration of tour is usually 4-10 hours depends on conditions of the day
Sources
- Canadian Space Agency — Photographing the aurora
- Finnish Meteorological Institute — Revontulten ennustaminen (aurora forecasting)