What camera settings work best for northern lights photography?

Capturing the northern lights on camera requires manual mode settings with a wide aperture (f/1.4 to f/2.8), high ISO (1600-3200), and shutter speeds between 5-15 seconds. These settings allow your camera sensor to gather enough light from the aurora borealis whilst maintaining sharp details and vibrant colours. The key is balancing these three elements to match the aurora’s brightness and movement, ensuring you capture the dancing lights effectively in Arctic conditions.
What camera settings should you use to photograph the northern lights?
The foundation of northern lights photography settings begins with shooting in manual mode using a wide aperture of f/1.4 to f/2.8, ISO between 1600-3200, and shutter speeds from 5-15 seconds. These camera settings for aurora borealis work together to capture enough light from the relatively dim aurora whilst preventing overexposure and maintaining image sharpness.
Your aperture should be as wide as your lens allows, typically f/1.4, f/1.8, or f/2.8. This wide opening lets maximum light reach your camera sensor, which is essential when photographing northern lights in low-light conditions. The ISO setting determines your sensor’s sensitivity to light. Starting at ISO 1600 provides a good baseline, though you may need to increase to ISO 3200 for fainter auroras or decrease to ISO 800 for particularly bright displays.
Shutter speed controls how long your sensor collects light. For best settings for aurora photography, begin with 8-10 seconds. Slower displays can handle 15-20 second exposures, whilst fast-moving auroras require shorter times of 3-5 seconds to avoid motion blur. Manual focus set to infinity ensures sharp stars and aurora details, as autofocus struggles in darkness. Set your white balance to 3500-4000K for natural colours, though shooting in RAW format allows adjustment during editing.
People’s Favorite Winter Activities in Rovaniemi

Northern Lights Tour Snowmobile Driving
Snowmobiling allows you to explore snowy landscapes in search of the best spots to witness the ethereal beauty of the Northern Lights, the Aurora Borealis.
Northern Lights / Snowmobiling Tour
4 hours
Easy
Cut off: 4 hours before start time
Combos, Northern Lights, Snowmobile
From
149 €
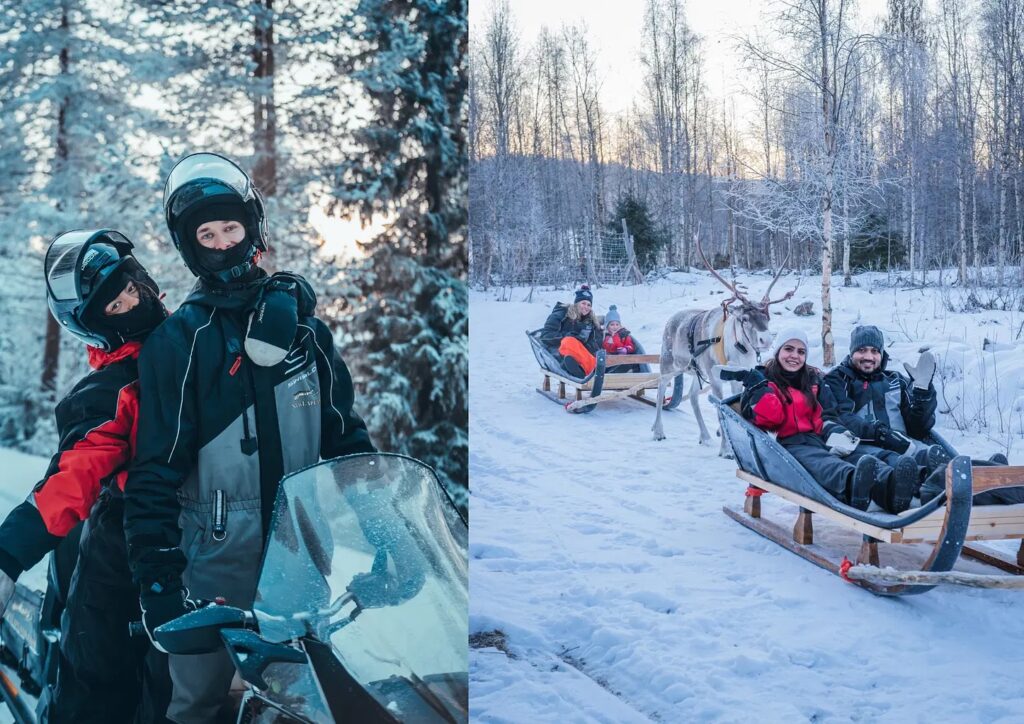
Kuoksa Reindeer & Snowmobile Adventure
Experience the magic of Lapland with a memorable reindeer sleigh ride, delicious salmon soup, and an exciting snowmobile ride. This unforgettable adventure combines action, nature, and local flavors in perfect harmony.
Reindeer and snowmobile safari
6 hours
Easy
Cut off: 8 hours before start time
Combos, Reindeer, Snowmobile
From
249 €
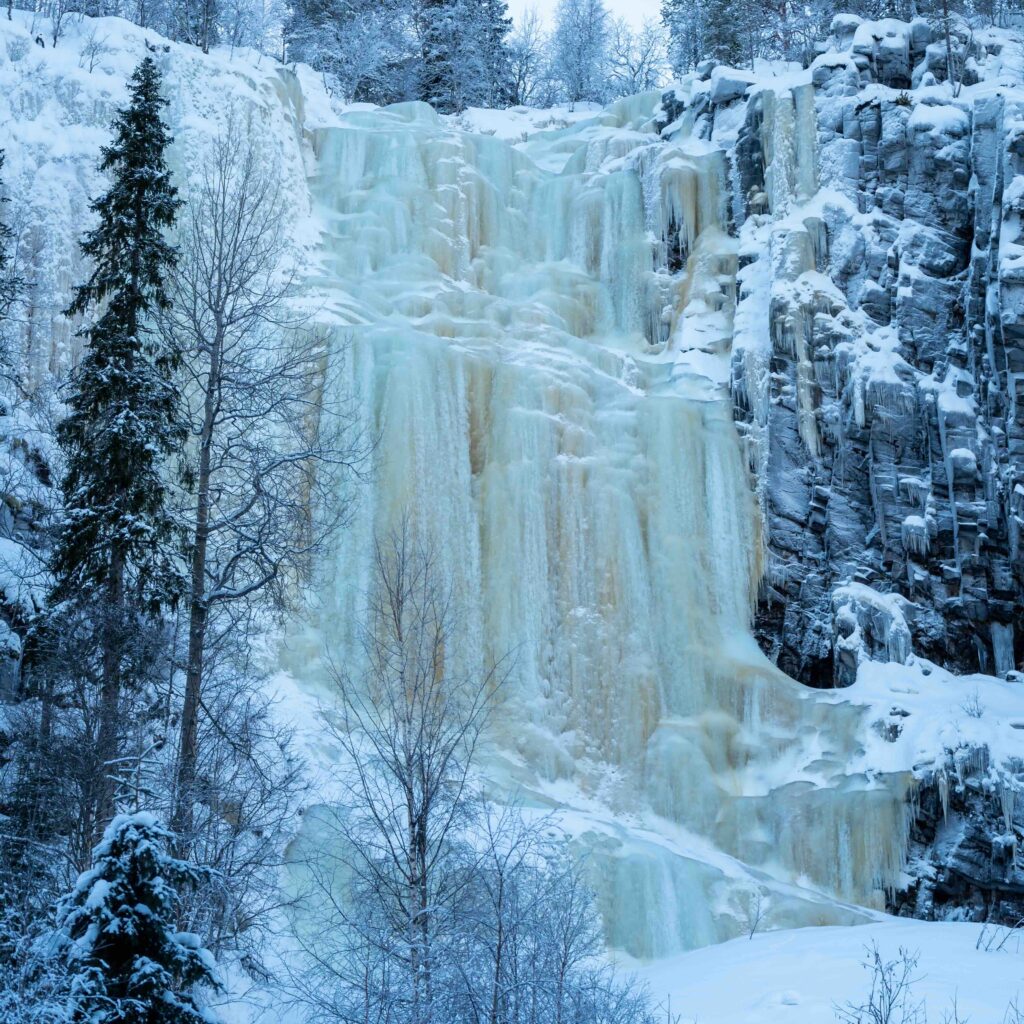
Korouoma Frozen Waterfalls Hike
Korouoma is a Finnish nature reserve area known in winter for its frozen waterfalls, and where ice climbers can be found.
Nature tour
6 hours
Challenging
Cut off: 3 hours before start time
Nature & Culture
From
139 €
How do you adjust camera settings based on aurora brightness and activity?
Adapting your northern lights photography settings in real-time requires understanding that brighter auroras need lower ISO and faster shutter speeds, whilst faint displays demand higher ISO and longer exposures. When the aurora intensifies, reduce your ISO from 3200 to 1600 or lower, and shorten your shutter speed from 10 seconds to 5 seconds to prevent overexposed, washed-out images.
For slow-moving auroras that gently ripple across the sky, you can safely use longer exposures of 15-20 seconds at ISO 1600. These settings capture smooth, flowing light curtains with rich colour saturation. However, when the aurora suddenly erupts into rapid movement with dancing pillars and swirling patterns, immediately reduce your shutter speed to 3-5 seconds. This faster speed freezes the motion and captures the intricate structures that make aurora borealis photography so spectacular.
Light pollution affects your settings significantly. In darker locations away from city lights, you can use lower ISO values (1600 or even 800) and still capture brilliant auroras. Near towns or during moonlit nights, you may need to increase ISO to 2500-3200 and adjust your shutter speed accordingly. Keep spare batteries in inside pockets close to your body, as Arctic cold drains power rapidly. Practise adjusting these settings whilst wearing gloves, as you’ll need to make quick changes when the aurora appears.
What equipment and preparation do you need for successful northern lights photography?
Beyond camera settings, successful photographing northern lights requires a sturdy tripod, wide-angle lens (14-24mm), spare batteries, and remote shutter release. Your tripod must remain stable in wind and cold, as even slight movement during long exposures ruins sharpness. A wide-angle lens with a large maximum aperture (f/1.4 to f/2.8) captures expansive aurora displays and gathers sufficient light.
Arctic temperatures drain camera batteries at alarming rates, often reducing capacity by 50% or more. Carry at least three fully charged batteries and keep spares warm in inside pockets. A remote shutter release or your camera’s timer function prevents vibration when pressing the shutter button. Consider lens warmers or hand warmers to prevent condensation and frost forming on your glass, which can ruin entire shooting sessions.
Preparation makes the difference between capturing stunning images and missing opportunities. Scout locations during daylight to identify interesting foreground elements like trees, frozen lakes, or buildings that add context to your aurora photographs. Check weather forecasts and aurora predictions to plan your shoots around clear skies and increased solar activity. At Aurora Hill Resort, guests benefit from real-time aurora alert notifications and strategically positioned accommodations designed specifically for northern lights viewing and photography, eliminating guesswork about when and where to shoot.
Dress in proper Arctic clothing with multiple layers, as you’ll stand outside for extended periods. Bring a headlamp with red light mode to preserve your night vision whilst adjusting settings. Familiarise yourself with your camera’s controls before heading out, as operating complex menus in darkness whilst wearing gloves proves challenging. We at StayLapland recommend arriving at your location 30 minutes before anticipated aurora activity to set up equipment and adjust to the cold.
Why do northern lights photos often look different from what you see?
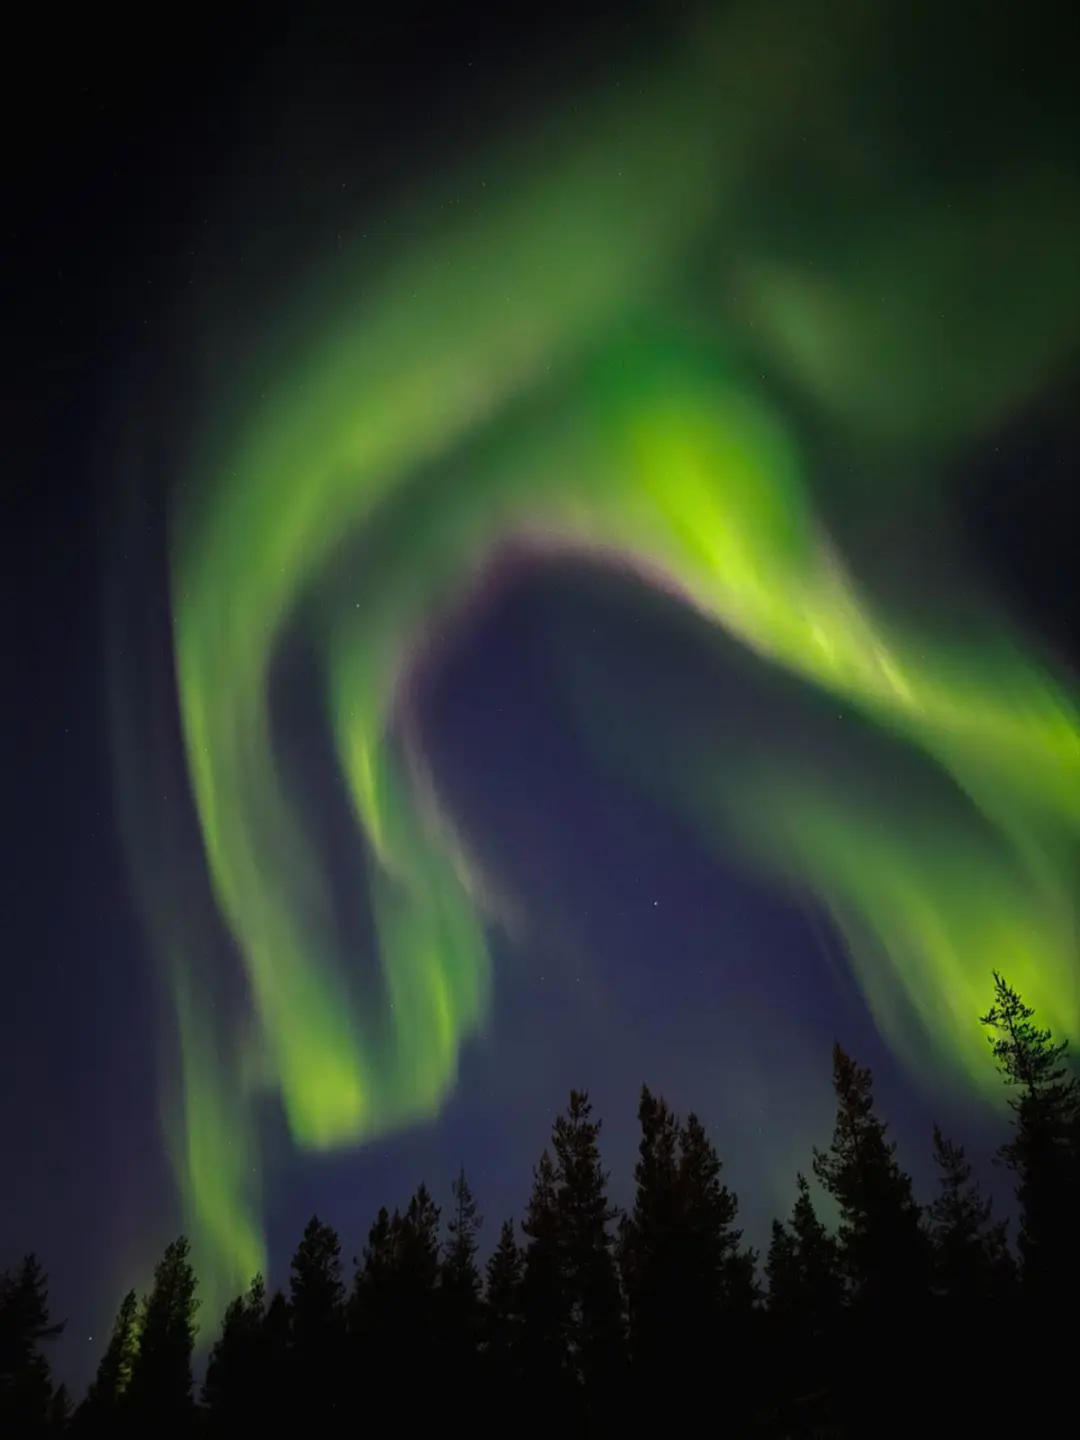
Camera sensors capture more colour and detail than human eyes perceive because long exposures accumulate light over several seconds, whilst your eyes process light instantly. Your camera’s sensor is more sensitive to the green and red wavelengths that auroras emit, revealing vibrant colours that often appear as pale green or white to the naked eye in real-time.
Human vision relies on rod cells in low light conditions, which detect brightness but limited colour. The auroras you see might appear as faint grey-green curtains, whilst your camera’s 10-second exposure reveals brilliant greens, purples, and reds. This doesn’t mean the colours aren’t there – they exist, but your eyes simply can’t gather enough light quickly enough to perceive them fully. Camera sensors accumulate photons throughout the exposure, building up colour information that creates the vivid images you see in northern lights photography tips.
Understanding this difference helps set realistic expectations. Very bright auroras that dance rapidly across the sky will show impressive colours to your naked eye, matching more closely what your camera captures. Fainter displays require longer exposures to reveal their hidden beauty. When viewing Northern Lights photographs, authentic images show natural colour saturation that reflects what the sensor captured, whilst over-edited photos display unnaturally intense colours that misrepresent the actual experience.
Post-processing should enhance rather than fabricate. Adjusting exposure, contrast, and colour balance brings out details your camera captured but may appear flat in raw files. Avoid excessive saturation that creates unrealistic neon colours. The goal is presenting what was genuinely there – just revealed through your camera’s superior light-gathering ability compared to human vision.
Mastering northern lights photography settings transforms fleeting Arctic moments into lasting memories. The combination of proper camera settings for aurora borealis, appropriate equipment, and understanding how cameras perceive light differently than eyes allows you to capture the magic of dancing lights above the Arctic Circle. Whether you’re just beginning your aurora photography journey or refining your technique, remember that each display offers unique opportunities to practise and improve. If you’re planning your northern lights adventure and want expert guidance, contact us to discover how we can help make your Arctic photography dreams a reality.
Experience the Real Lapland

Arctic Snowmobile Tour on Private Trails
Experience the thrill of snowmobiling through Lapland’s winter wonderland! This family-friendly adventure includes about an hour of driving, leading to a private lakeside base. With expert guidance and top-quality gear, it's the perfect mix of excitement and safety. Book now for an unforgettable Arctic ride!
For Everyone
Snowmobiling tour
3 hours
Easy
Cut off: 4 hours before start time
Snowmobile
From
99 €
Korouoma Frozen Waterfalls Hike
Korouoma is a Finnish nature reserve area known in winter for its frozen waterfalls, and where ice climbers can be found.
Nature tour
6 hours
Challenging
Cut off: 3 hours before start time
Nature & Culture
From
139 €

Northern Lights Tour in Atmospheric Cottage
Feel the heritage and natural beauty of Finn-Lapland at the atmospheric cottage. Enjoy +100 years old traditional Finnish cottage located by a lake and a Laavu and explore the beautiful landscape.
For Everyone
Northern Lights tour / activity
3 hours
Very easy
Cut off: 3 hours before start time
Northern Lights
From
109 €